Missions - How to Create

Go to Admin -> Missions -> Missions -> "Create new," and follow the steps.


Note: Fill in content in the default language. It is possible to create content in different languages. To create new languages, click here. NOTE: "English" tab is mandatory to be filled.
Name: Is the name of the Mission that will be displayed to Members.
Description: This is a description of the Mission.
Show in App: Make sure the Mission is visible in the app - blue = visible.
Badge: Enable the badge button if you want the member to receive a badge after completing a Mission. Read more about creating and editing badges here.

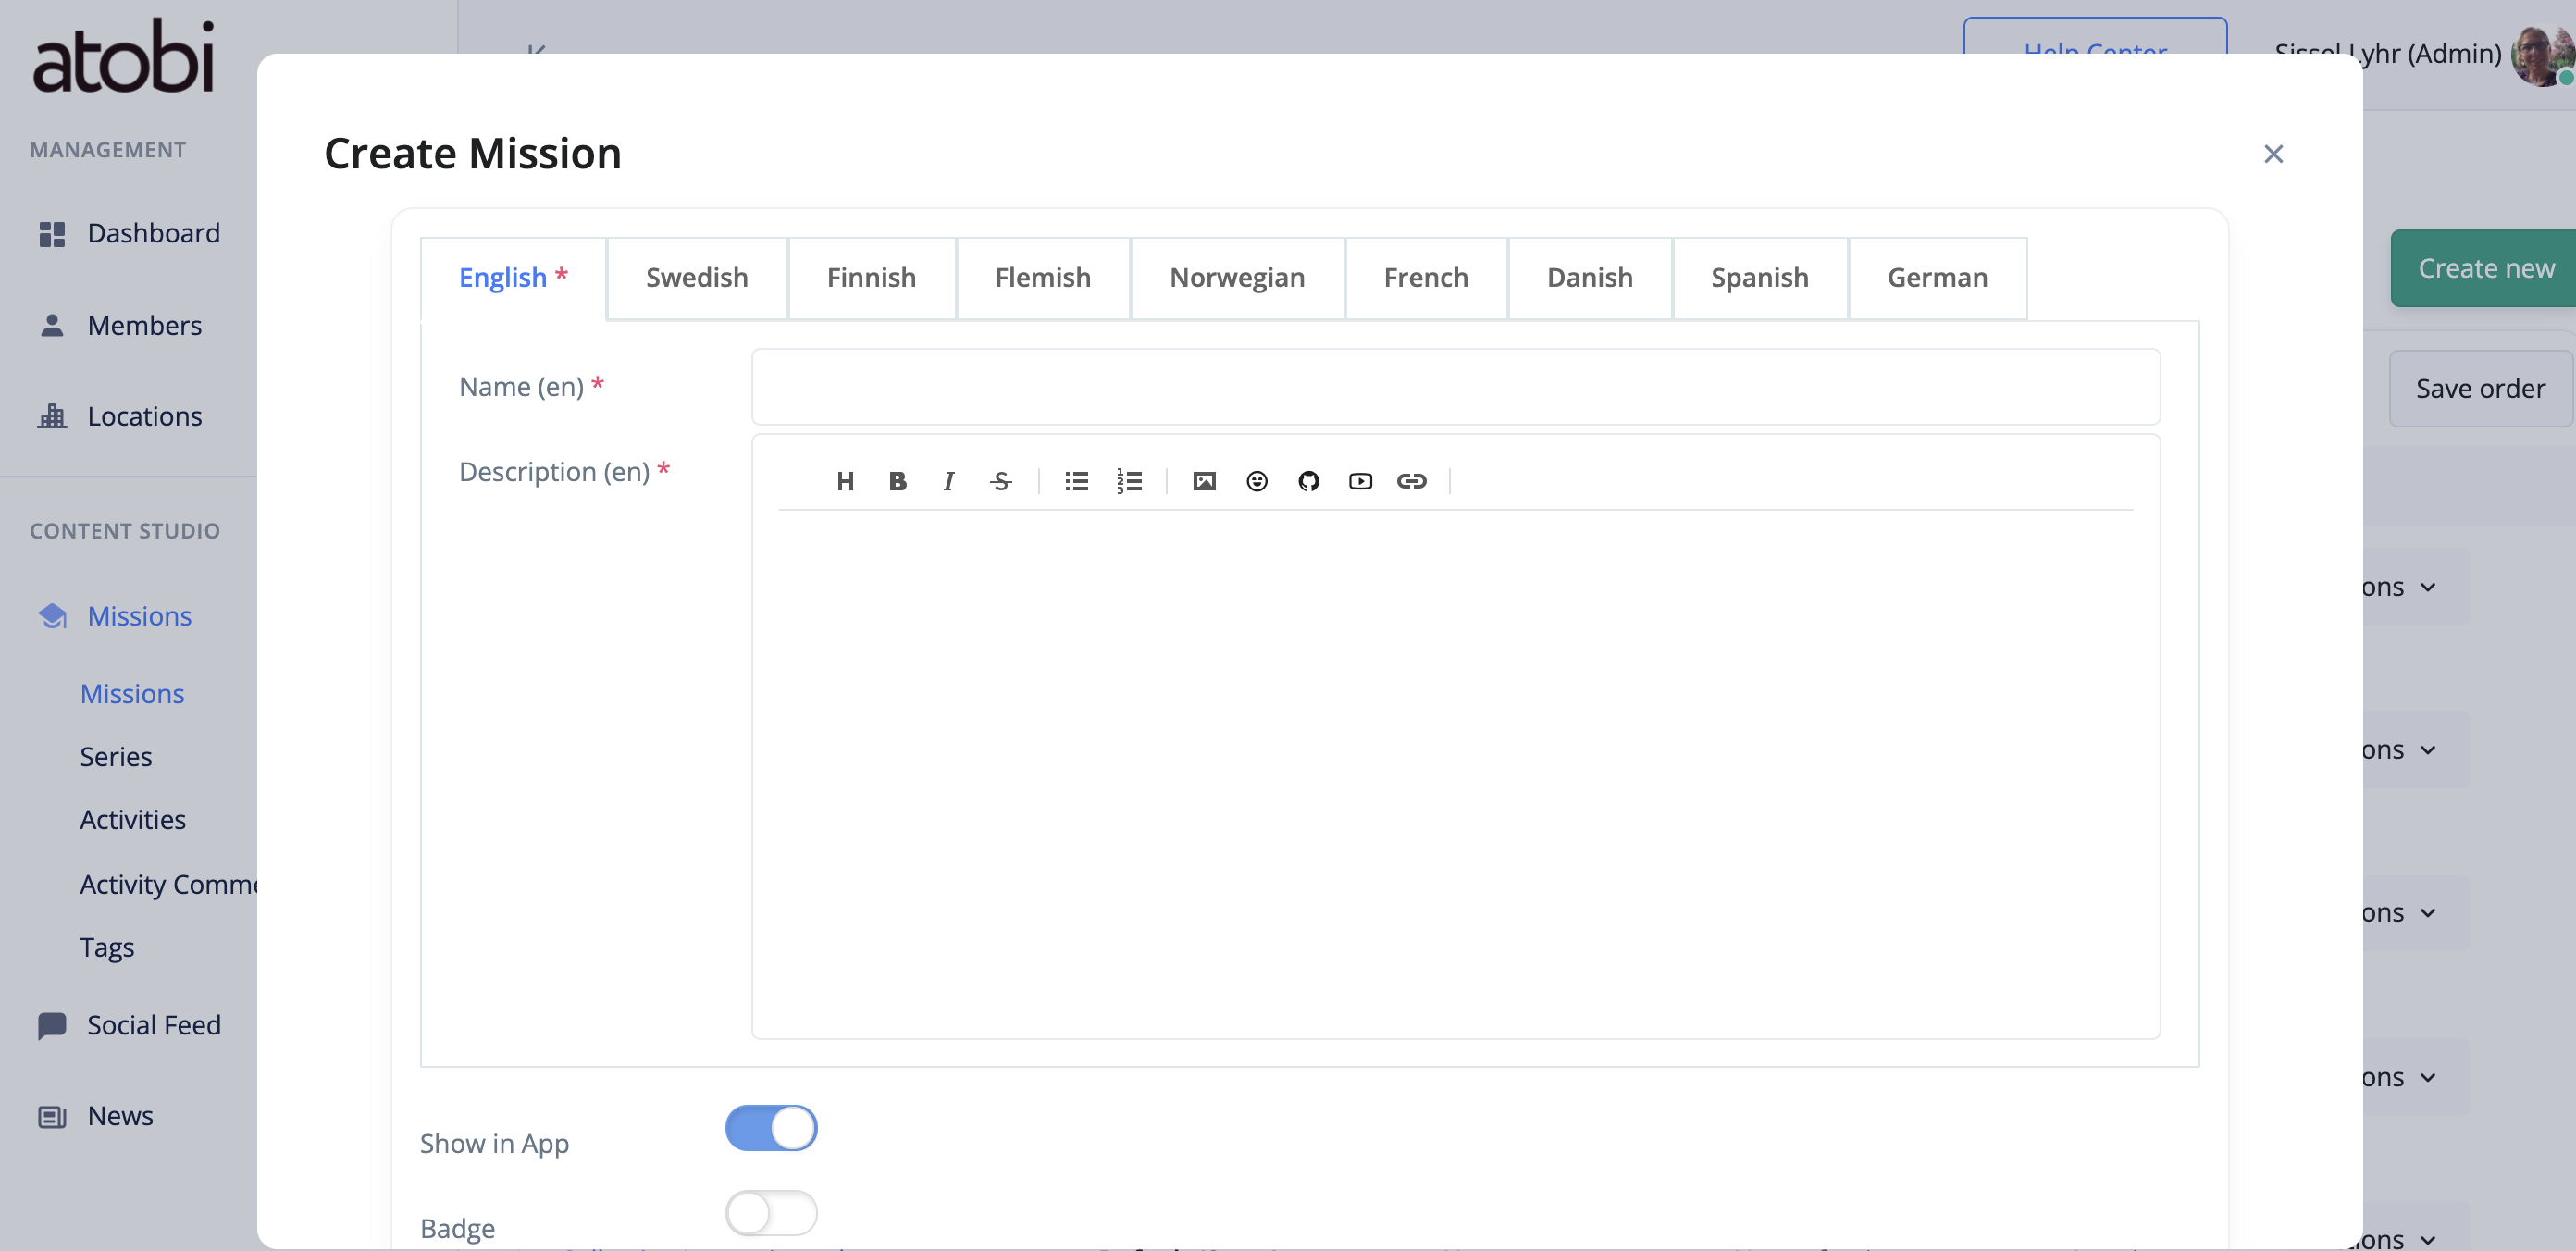
Important! Please note that once a Mission is connected with a Badge, this cannot be changed. In the current version of Missions and Badges, it is not possible to delete a badge once it is turned on. When a badge is on, it is generated and given to all members assigned to the Mission and who have completed it. When a badge is generated, it takes the name, description, and image from the mission - and these cannot be changed later on. So, do not turn on badges before being sure that the mission name and description won’t change later. 

Locations: Click and choose between the options or start writing the location to give the Mission to. This can be Countries, Areas, Stores, or, however, the location hierarchy is structured. 
When assigning to a Country, then all Areas and Shops below this country will have access to the Mission as well. By leaving the location field empty, all locations will have access to the Mission.
Logo: Adding an image or a gif to the Mission helps the staff to identify the topic of the training itself and helps to perceive the training as something interesting and fun, rather than tedious and hard.

To add a banner image, click “Drop files here to upload” or drag ‘n’ drop a picture. The file can be a .gif or .png, but we recommend a max size of 1MB - the larger the file size, the slower it will load. The banner will adjust according to the size of the member’s device. We recommend a picture with a height of 320px and at least a width of 750px.

Tags: Help members more easily find the right missions.

Profession: Per each selected location, it is also possible to define the specific profession that needs to complete the training.

Attachment: It is possible to attach a document, a picture, or a video to the mission itself. It is a good practice to keep the content short, easy to understand, and straight to the point.

Create: Press ‘Create,’ and the mission is now created. Now you are ready to create a Series.
Did this answer your question? Thanks for the feedback There was a problem submitting your feedback. Please try again later.